PI-HEPHAESTUS
GOAL
CONCEPT
- Needs to change the image displayed every 24 hours.
- Needs to turn on and off so as not to draw power when not in use
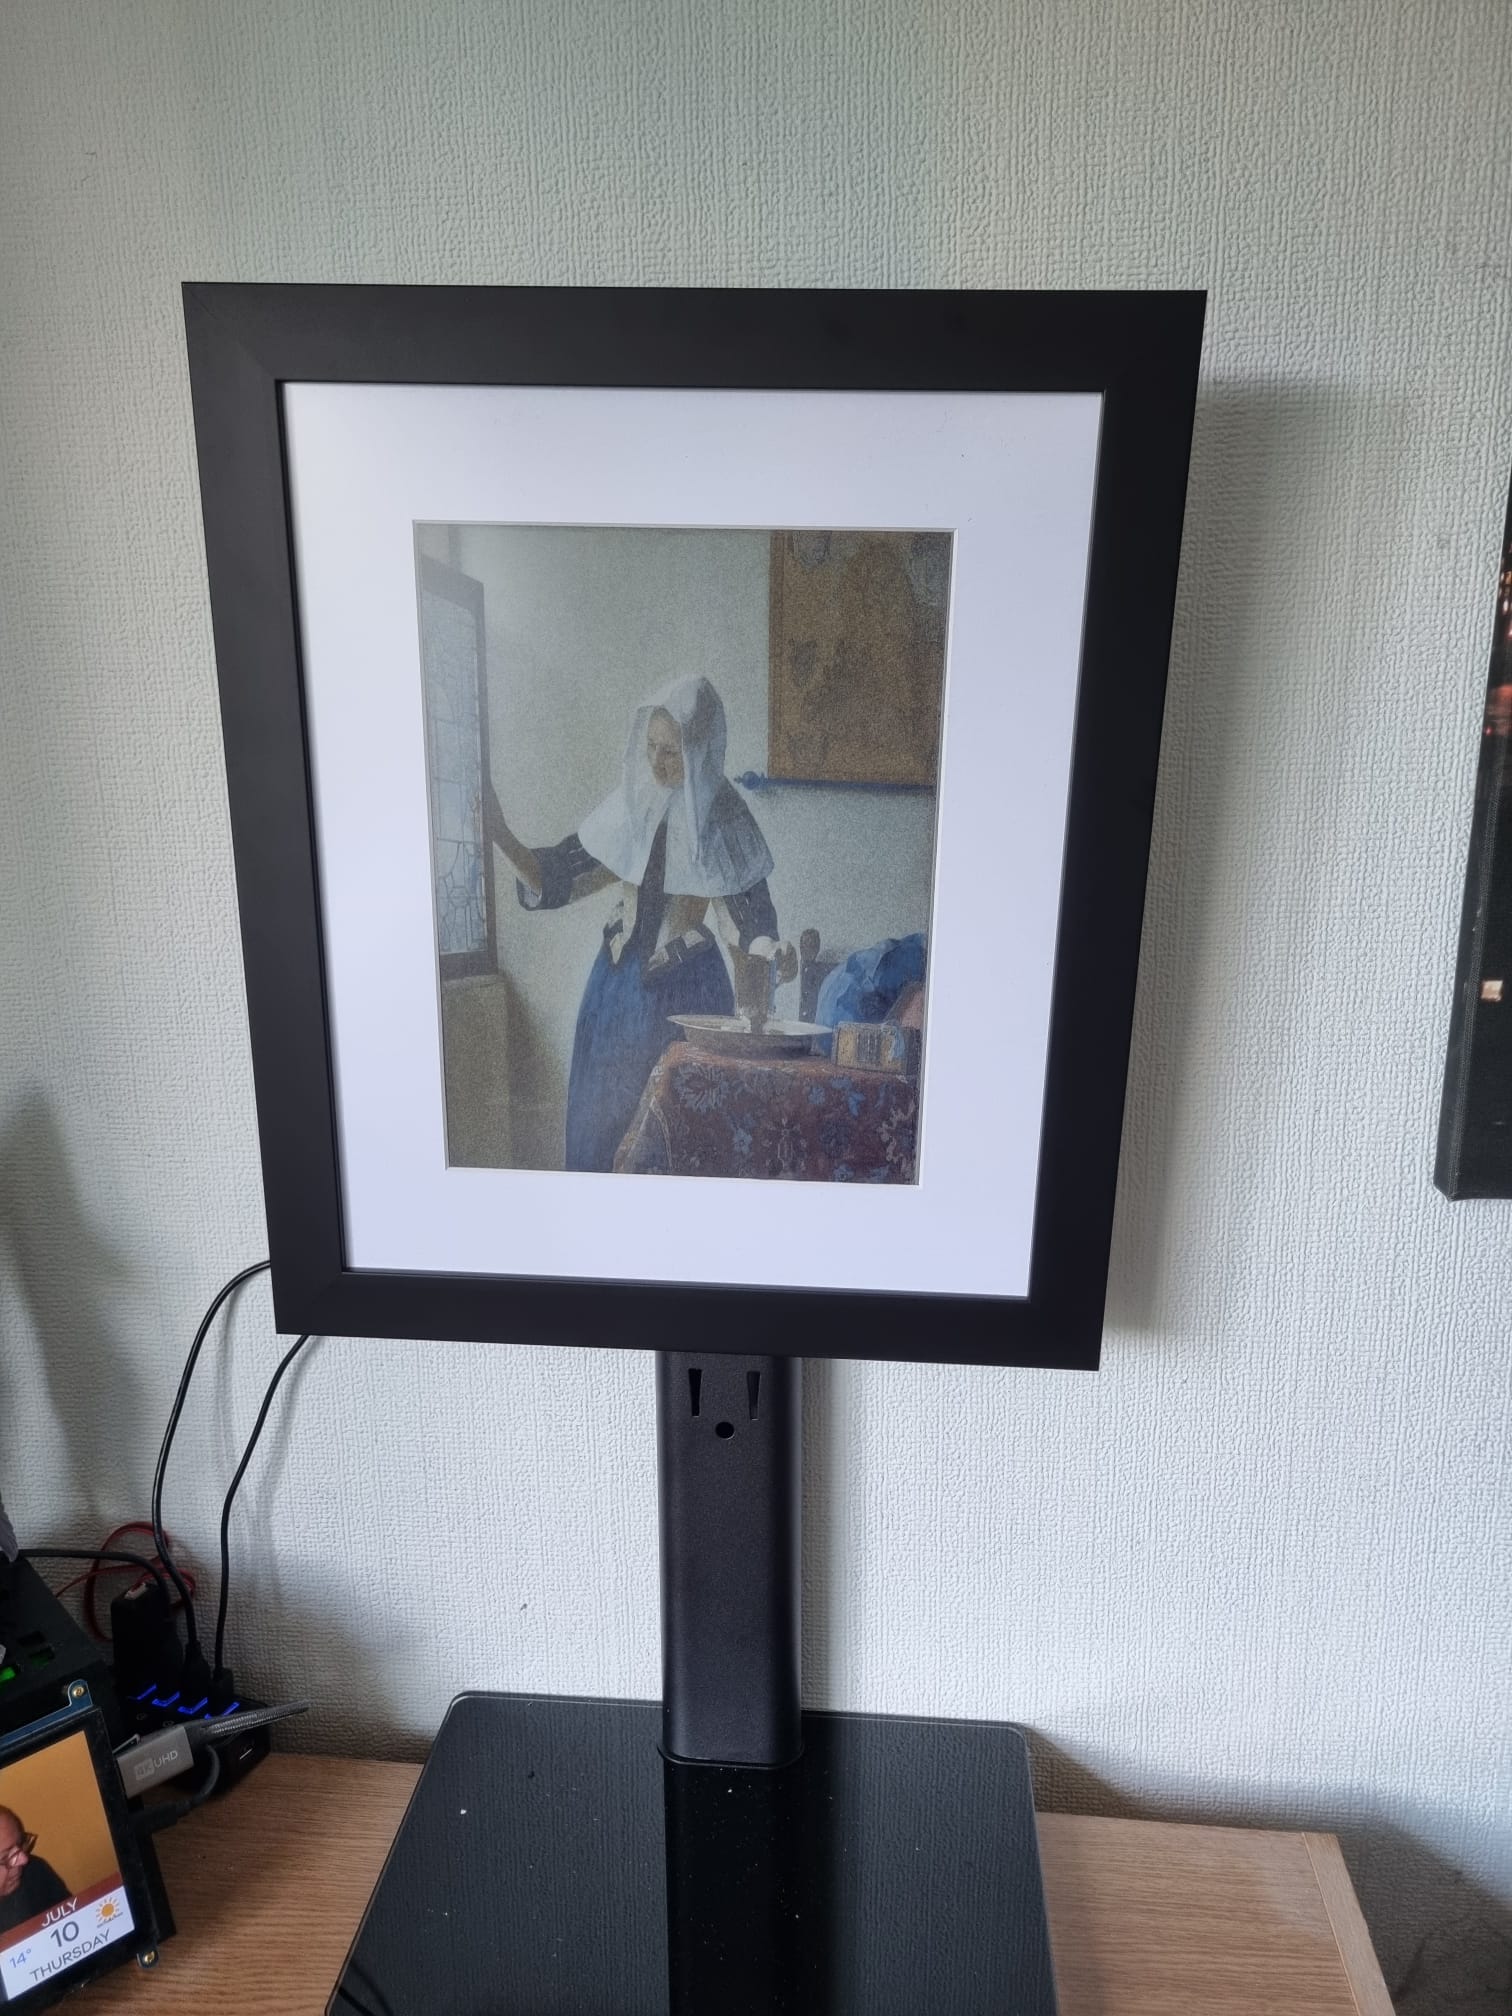
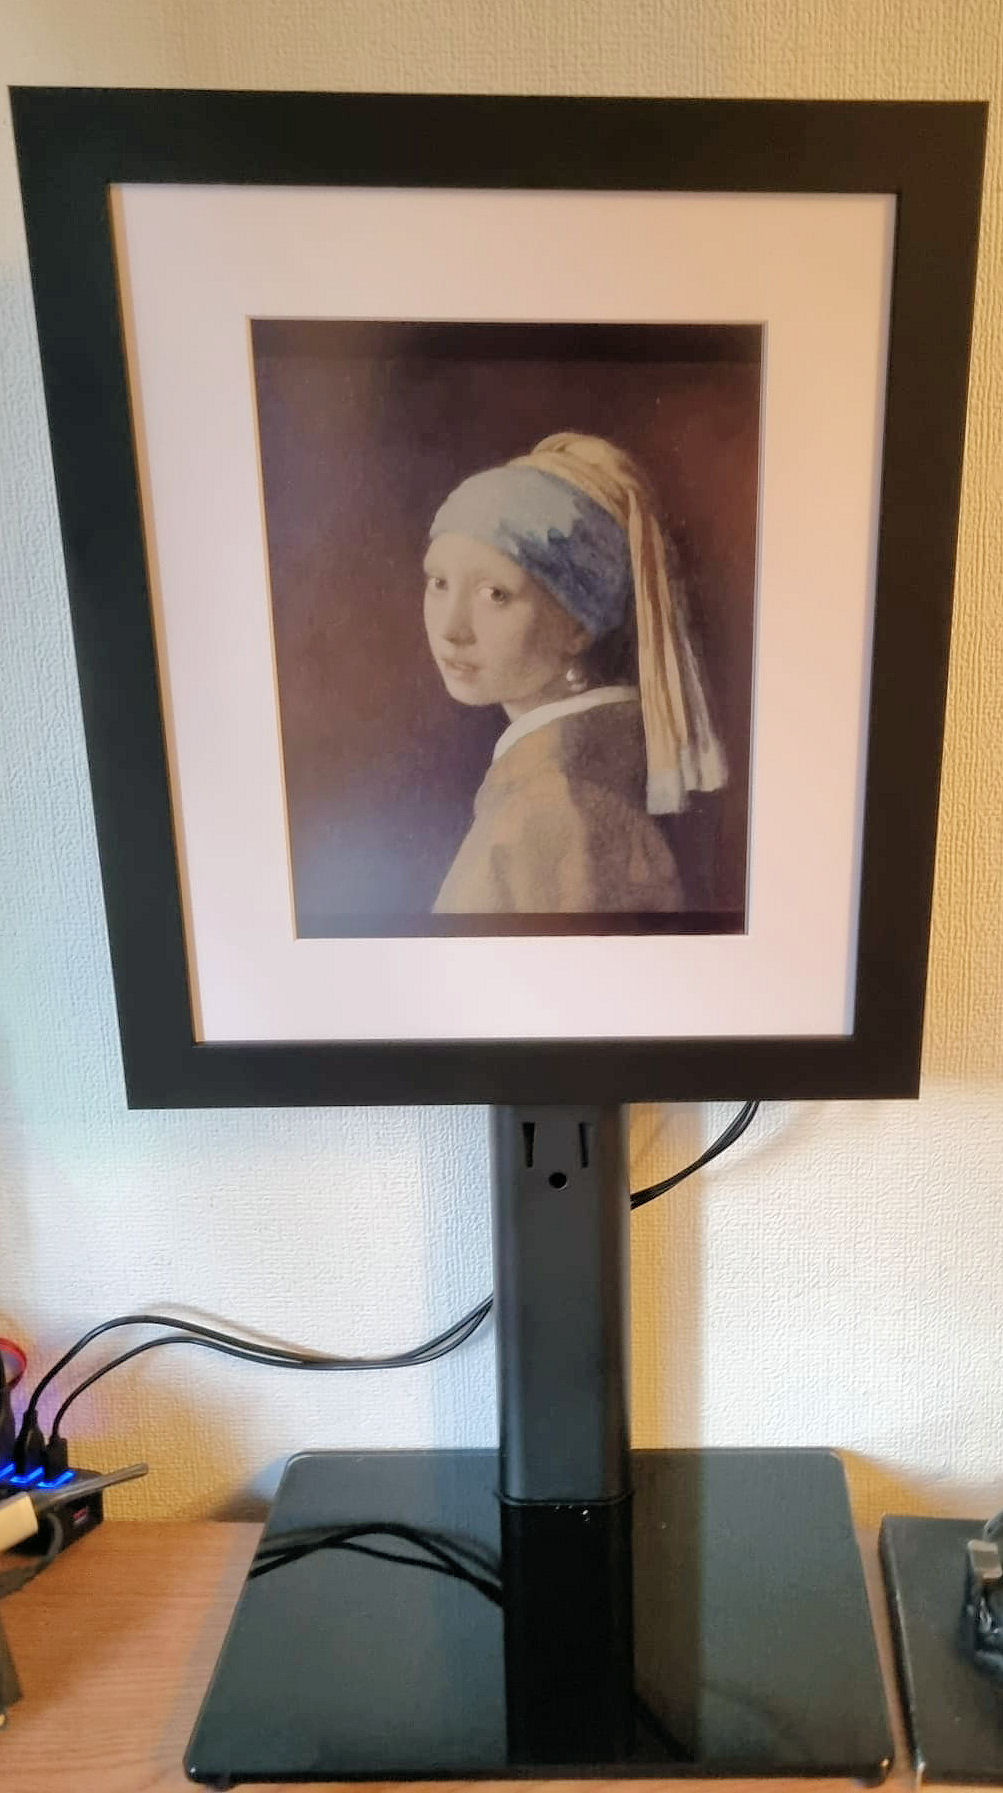
- Needs to adjust to landcape and portrait pictures
PURCHASES
| Controller | Raspberry Pi Zero WH (with pre-soldered header) × 1 | £15.12 |
| Power Management | Witty Pi L3V7 - Realtime Clock and Power Management for Raspberry Pi | £23.90 |
| Battery | EEMB Lithium Polymer battery 3.7V 2000mAh 103454 Lipo Rechargeable Battery Pack with wire JST Connector | £7.41 |
| Multi-Hat adapter | HAT Hacker HAT | £9.90 |
| SD Card | SanDisk Ultra 32GB microSDXC Memory Card | £14.99 |
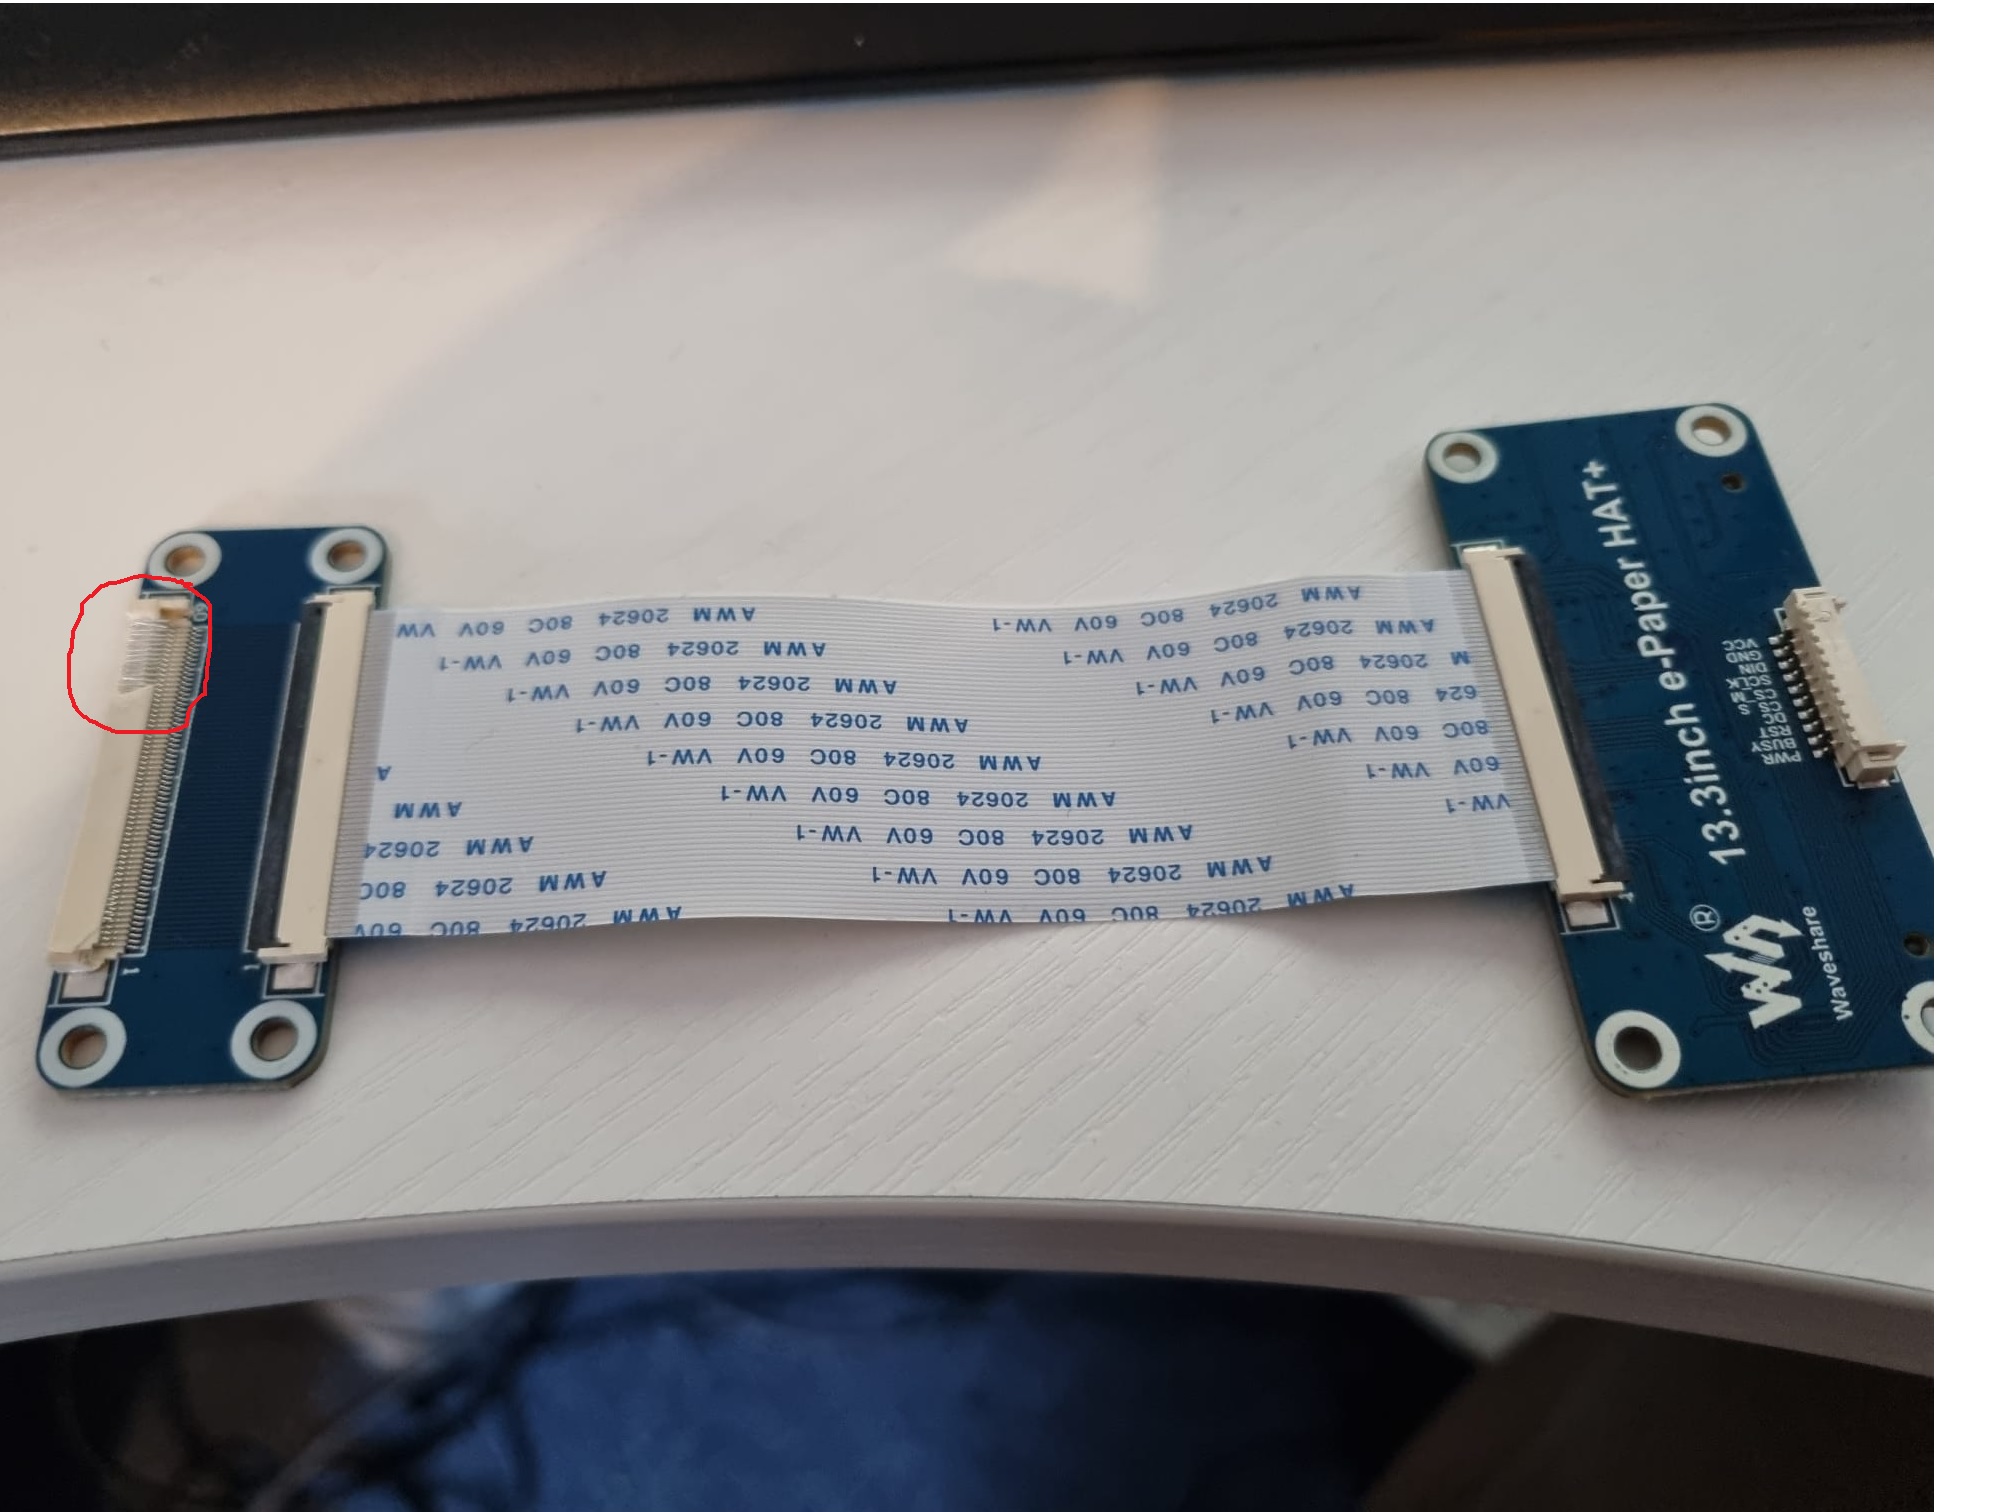
| E-Paper Display | Waveshare 13.3inch E Ink Spectra 6 (E6) Full Color E-Paper Display With HAT+ Standard Driver HAT, 1600x1200 Pixels, SPI Communication, E-Ink Display | £305.99 |
| Servo Controller | Micro Maestro 6-channel USB Servo Controller | £49.51 |
| Picture Frame | Custom frame: AS0522 Smooth, matt black, 34mm wide (Non-reflective styrene glazing) | £42.79 |
| Stand | RFIVER Single Computer Monitor Mount Table Top Stand for 13-32 inch PC Screens | £24.29 |
| TOTAL | £493.9 | |
IMPLEMENTATION
I accidentally snapped the HAT display when trying to open it stopping it working, but after contacting the amazing sales team they sent me a free replacement from China.
So after looking at the demo I decided on extending the Python script.
To keep things simple I started off with 31 paintings I really liked. My plan was to use the built in Raspbian Chron service to run the script nightly. This would then look at the day of the month and render that image for the day.
I needed to get good quality images of the paintings and resize them to 1200 by 1600 24-bitmaps.
Some of the paintings were landscape and some were portrait though so I needed to add a servo to turn the picture frame around to match the image. I would name the pictures "#_layout" so I could rotate to the correct setting and then load the correct image.
I realised this would greatly increase the complexity since it would impact the way the picture needed to be held
So my favourite language to program in is DotNet so I looked originally at converting the Epaper example into C# .
I did think about using a different PI I had but this had some problems as the script involved some image pallette manipulation. This was easy using System.Drawing.Imaging but this library isn't fully supported on Linux and the features I needed (pallette manipulation) was one of the missing functions.
Reluctantly I decided to use the script and pass it the image I needed after I had rotated the image.
The next problem was the PI Zero wouldn't run dotnet as I'd foolishly bought a Raspberry PI Zero that wouldn't run it (the 2w can apparently).
So I abandoned the dotnet idea and went with converting the python scripts that came with the Epaper board and the Servo shield into libraries I could use.
My plan was to attach the servo to the wall and have the base of the servo rotate. I 3d Printed a servo holder that I intended to glue to the back of the picture frame.
This would be tight enough to hold the picture frame but also allow easy removal.
Now I purchased an Real Time Clock hat that would allow me to schedule the power for the PI. The idea was every 24 hours the PI would power on, run the loadPainting script and then turn off when done.
Unfortunatly the Hats weren't stackable so I purchased an adapter to allow me to run all three but the servo controller didn't operate as well.
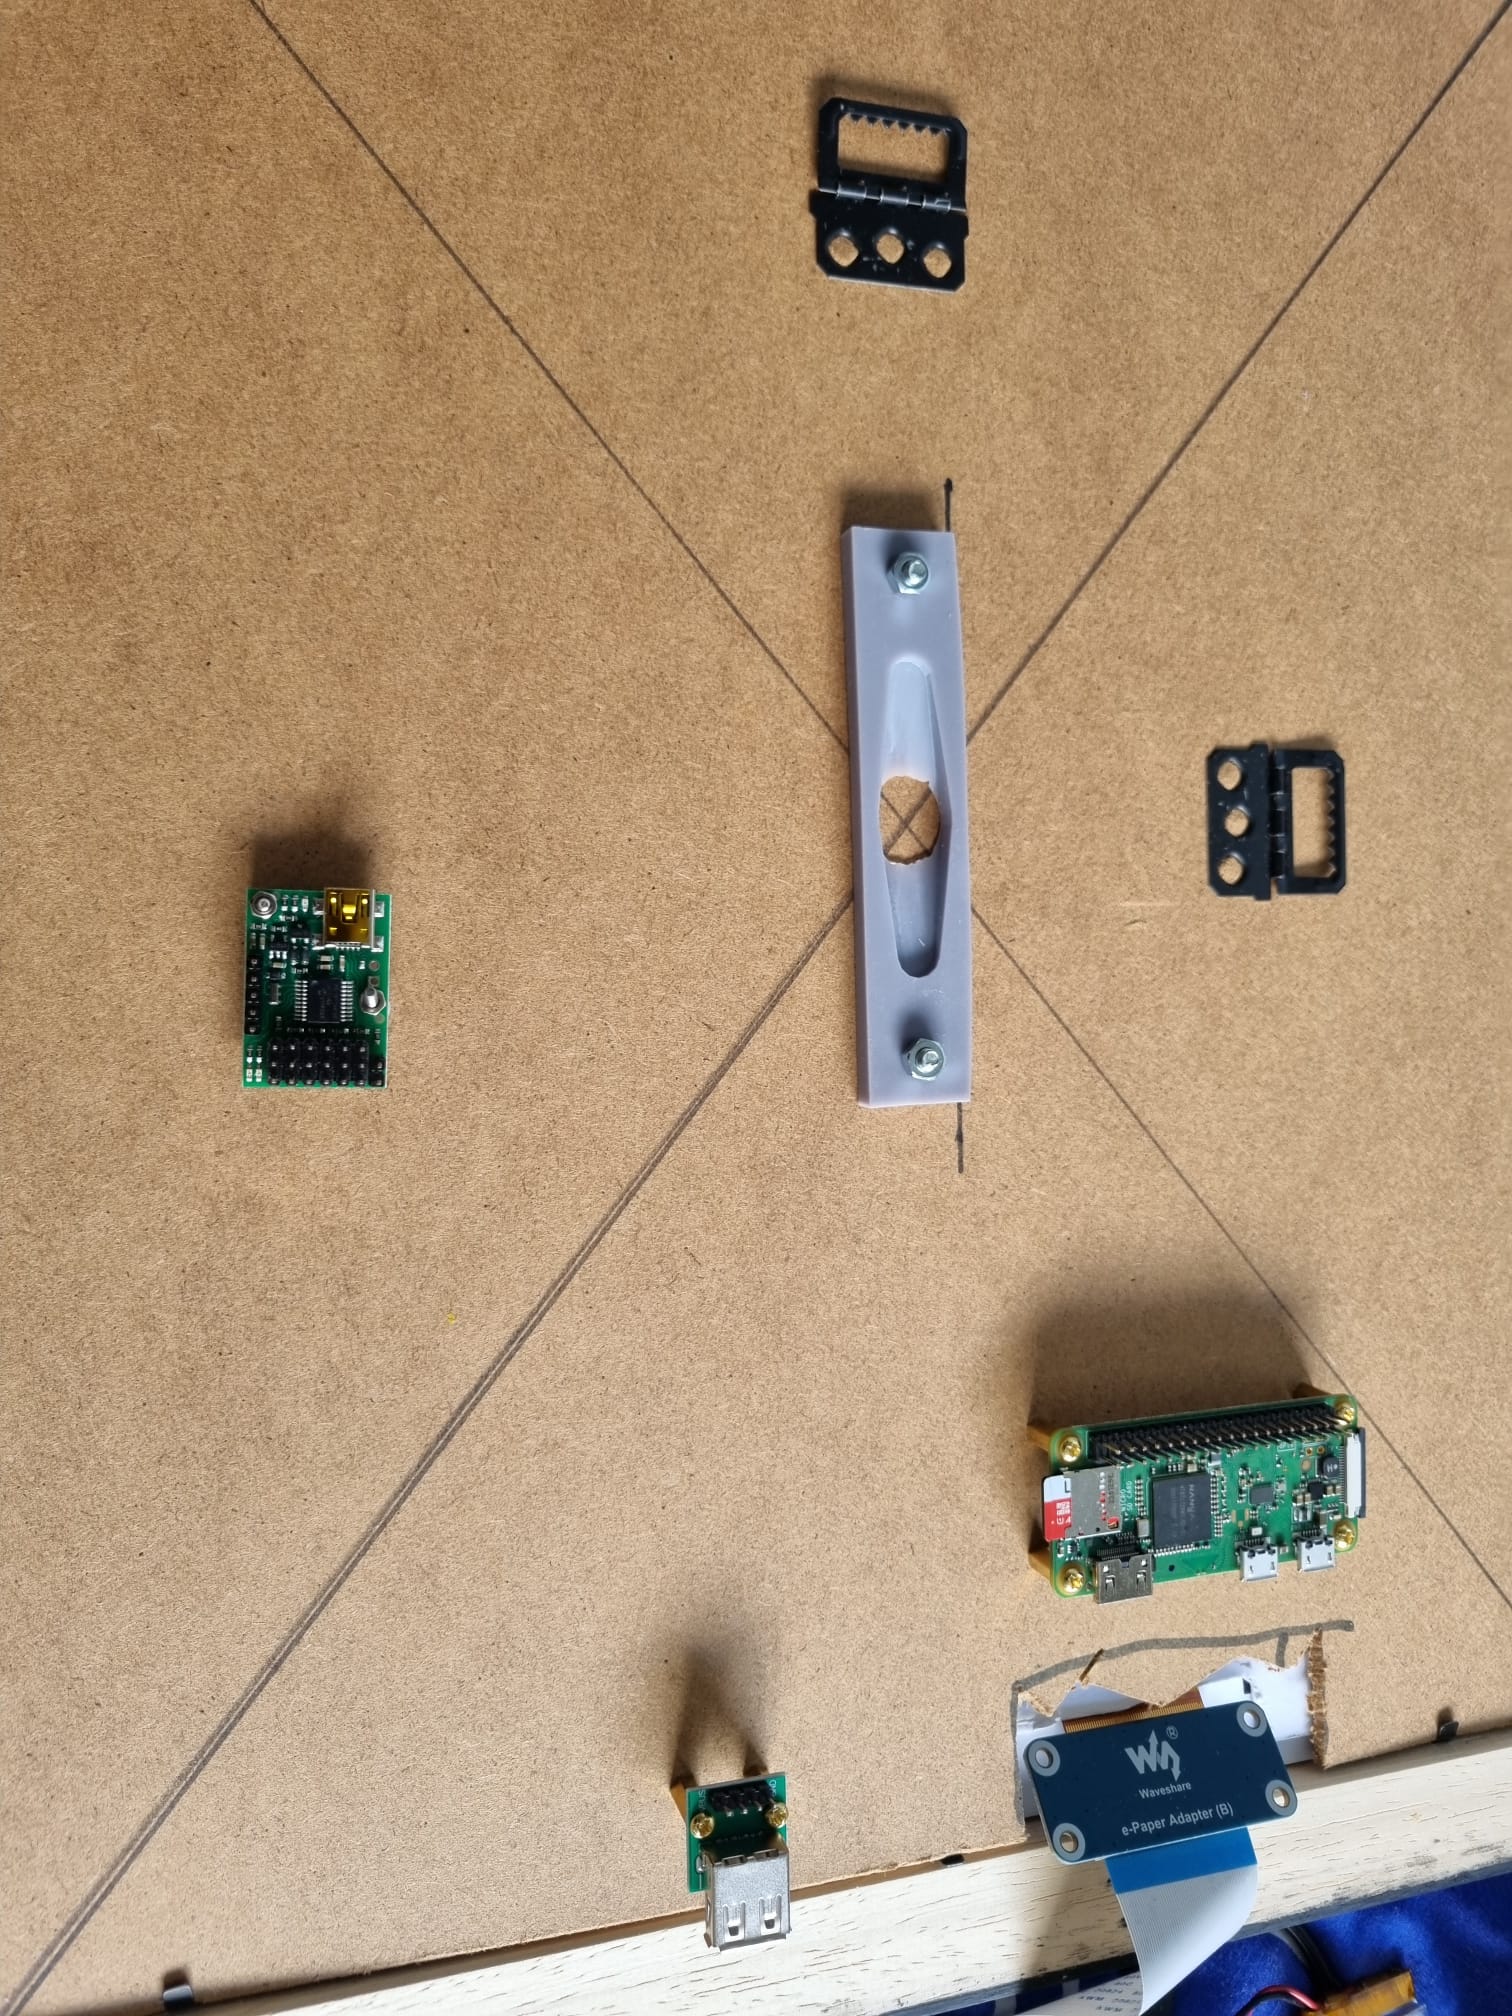
I bought a USB adapter to try and run a servo using the serial port on the usb. I couldn't power the servos from the usb (without ditching the USB interface) so I then used a USB Type A Female to DIP Adapter soldering the pins on so I could use this to power from an extra usb port I had on the same USB hub I was powering the PI Zero from
I tried 3d Printing a stand but this proved unsuitable so I purchased a VESA Computer stand. My plan was to create a servo holder and a paddle holder so the picture would be held up by a servo that could be unattached if necessary.
The servo block could then fit nicely over the stand top allowing me to slide the servo in and out. I then superglued the servo horns into the paddle holder and screwed that to the back of the picture frame. Servo Holder | Paddle Holder
I then drilled and used mountings for the PI Zero, the servo controller and the USB power block and connected all the wires.